Writing in Scrivener
I purchased the writing application Scrivener for years. But I didn’t really get used to it. I switched to use others writing apps, namely Editorial, iA Writer, Ulysses.
Recently I’m exploring the workflow to write my books and blog posts in AsciiDoc format, which is in plain text that gives me much more control than Markdown. I was trying to use Textastic on iOS and Atom on Mac to write all the AsciiDoc documents, mainly because they give me preview of the document.
Then, I found an issue. I don’t write as much as I were using Ulysses. Then I inspected and found out the reason. The unified library in Ulysses allows me to write down anything first without creating any files. Whenever I want to write, I just create a new note and write down the text. When I finished, I move the note to existing folders, or move to inbox if I haven’t categorized it.
In Atom, or Textastic, whenever I want to write, I need to create a new file, give the file a name, and then write. For any existing files, they hide in somewhere in the file system. I have to open them in the file system. They are not easily reachable and waiting for me to write. They are invisible and I easily forget about them.
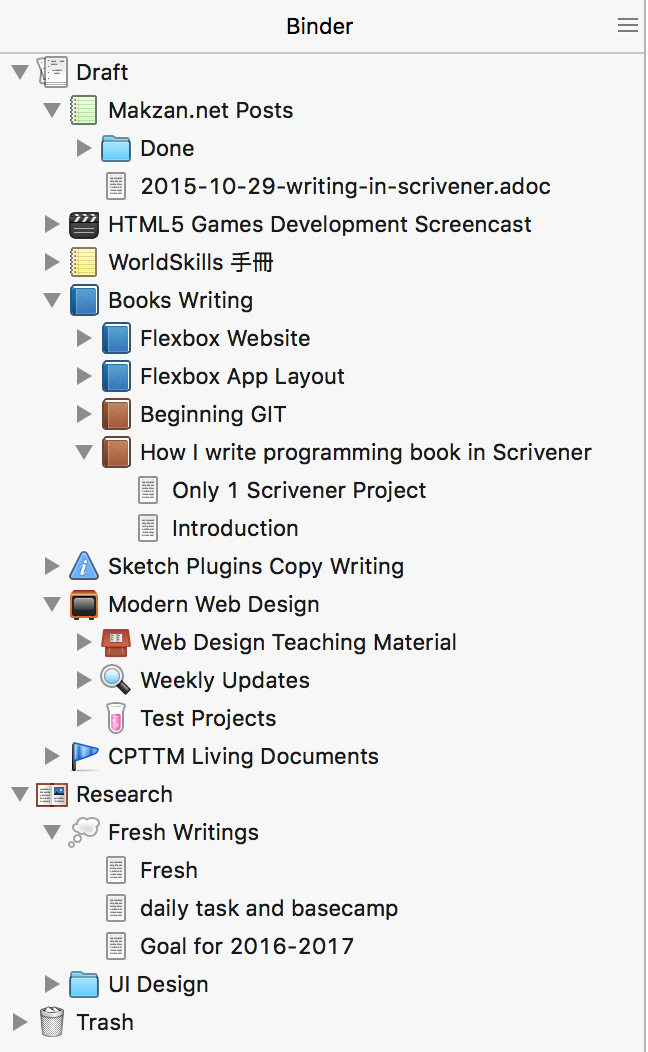
Yesterday I downloaded and installed Scrivener again. I create one, and only one, project named “All My Writings” in a dropbox folder. I use folders to organize all my writings. They may be books, blog posts, writings without categories. Now all of my writings are in the sidebar again, just like Ulysses. I don’t need to find them inside my huge amount of files and folders. Every day I have the Scrivener application launched, I have access to all of my current writings.
I also setup the Scrivener to work with plain text. I use a fixed width font face. Turn off the format bar and rulers. I mark my document as “Compile As-Is” to output my AsciiDoc format. More on how I configure Scrivener later.
Published on 2015-10-29.
More articles like this:
-
Writing
Previous <- A easy-to-understand vim tutorial
Next -> Basecamp 3