Guide to migrate OhLife entries to DayOne
Prepare
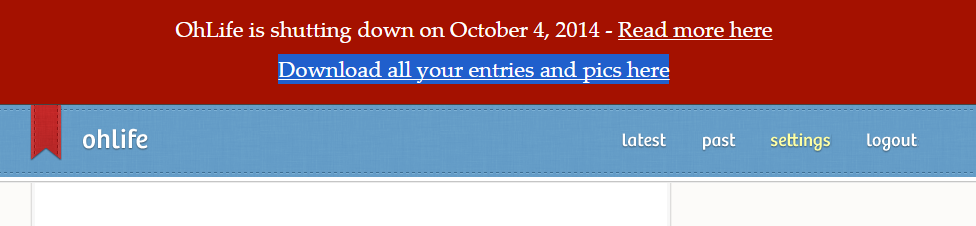
You need the exported text entries from OhLife. The service is generating the archive for every user. You can download the archive from the header of OhLife. The archive contains photos and a text file. The text file is what we need.
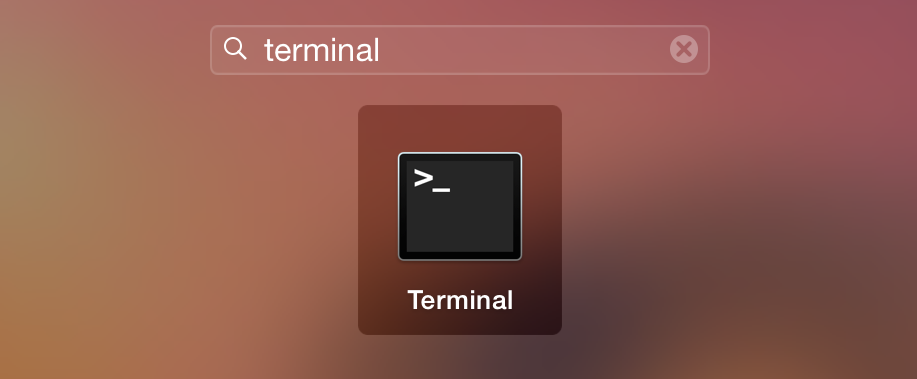
You will need the Terminal app to perform the task. That’s just several short commands that I’ll guide you through them. You can launch the the “Terminal” via spotlight or LaunchPad.
Also please make sure you backup your DayOne entries just in case anything go wrong.
Steps
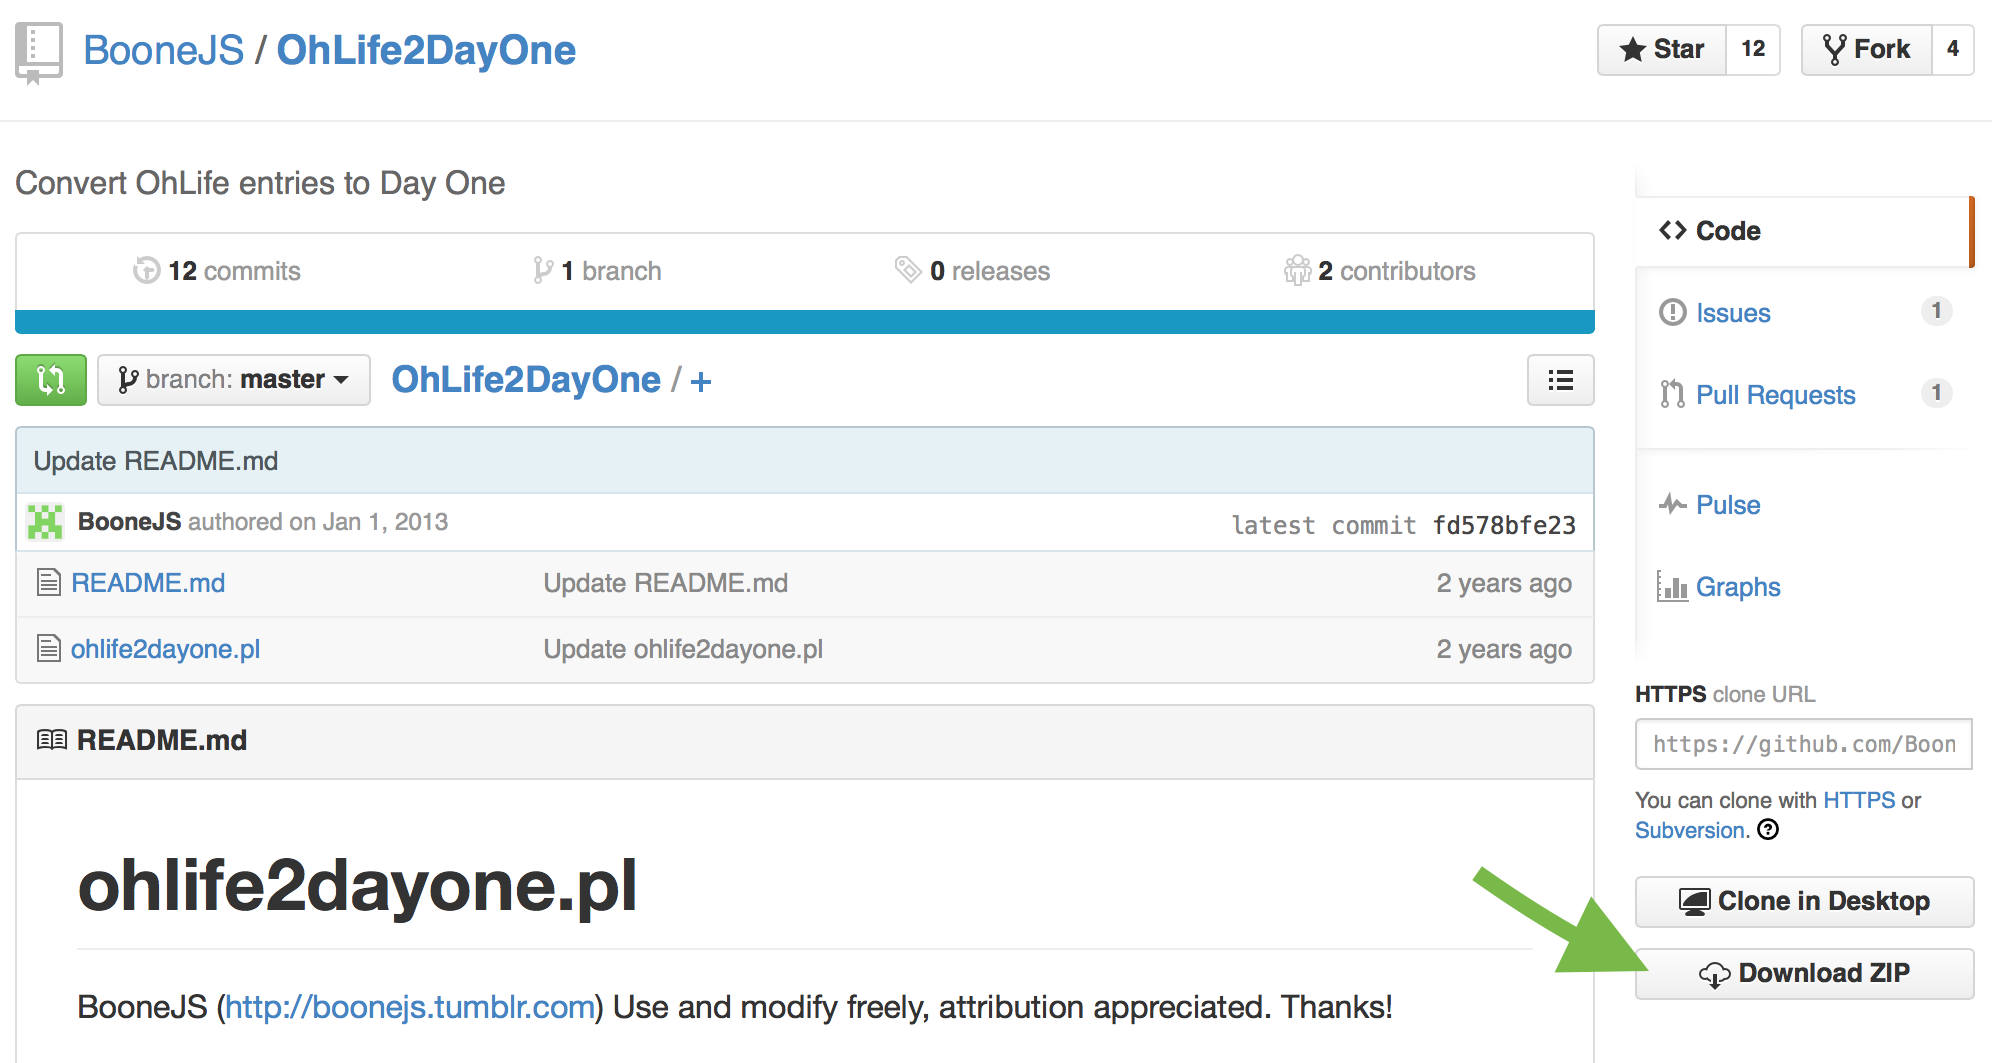
1) Get the script from the following code repo by BooneJS, by clicking “Download as zip”
https://github.com/BooneJS/OhLife2DayOne
2) Download the CLI, Command-line interface, from the official DayOne support website.
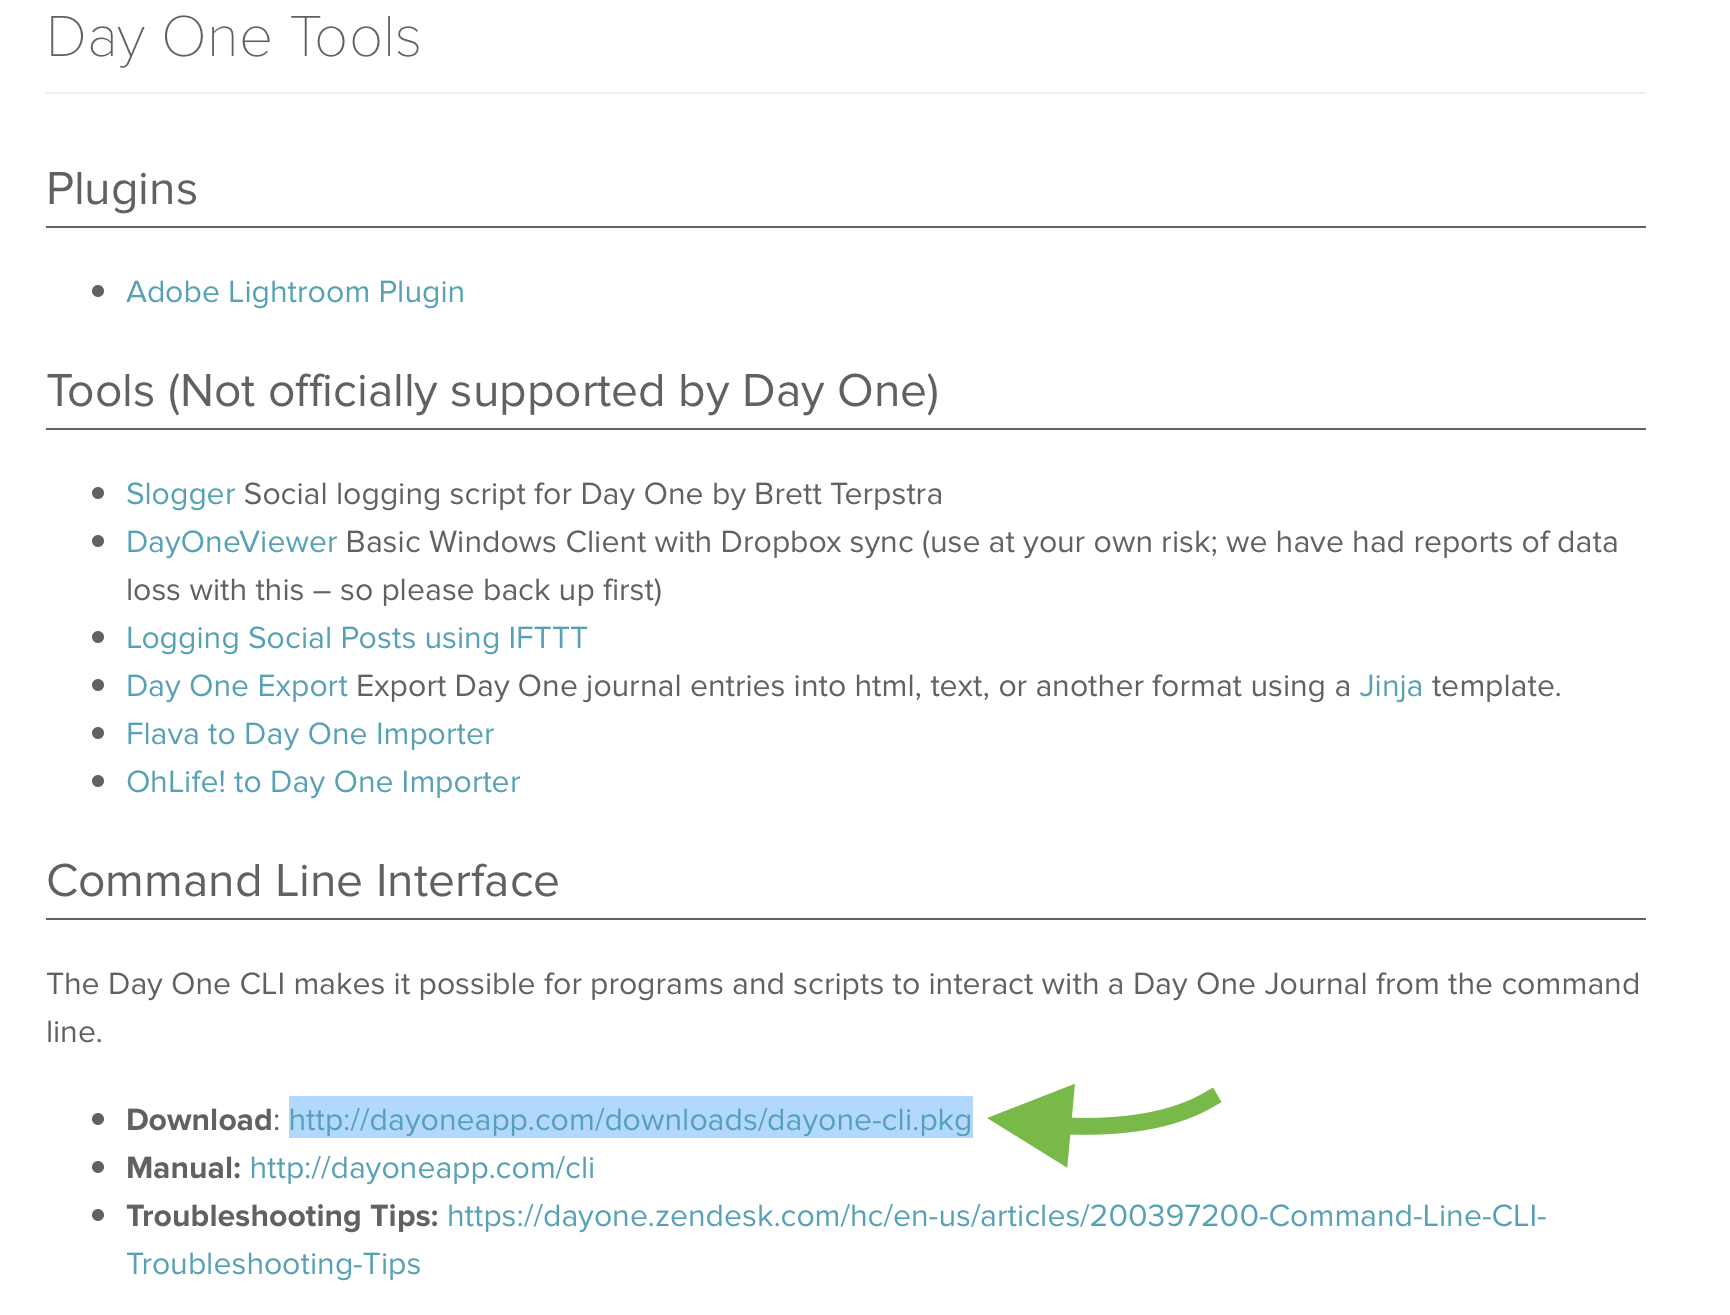
The direct download link to the CLI package:http://dayoneapp.com/downloads/dayone-cli.pkg
3) Install the downloaded package.
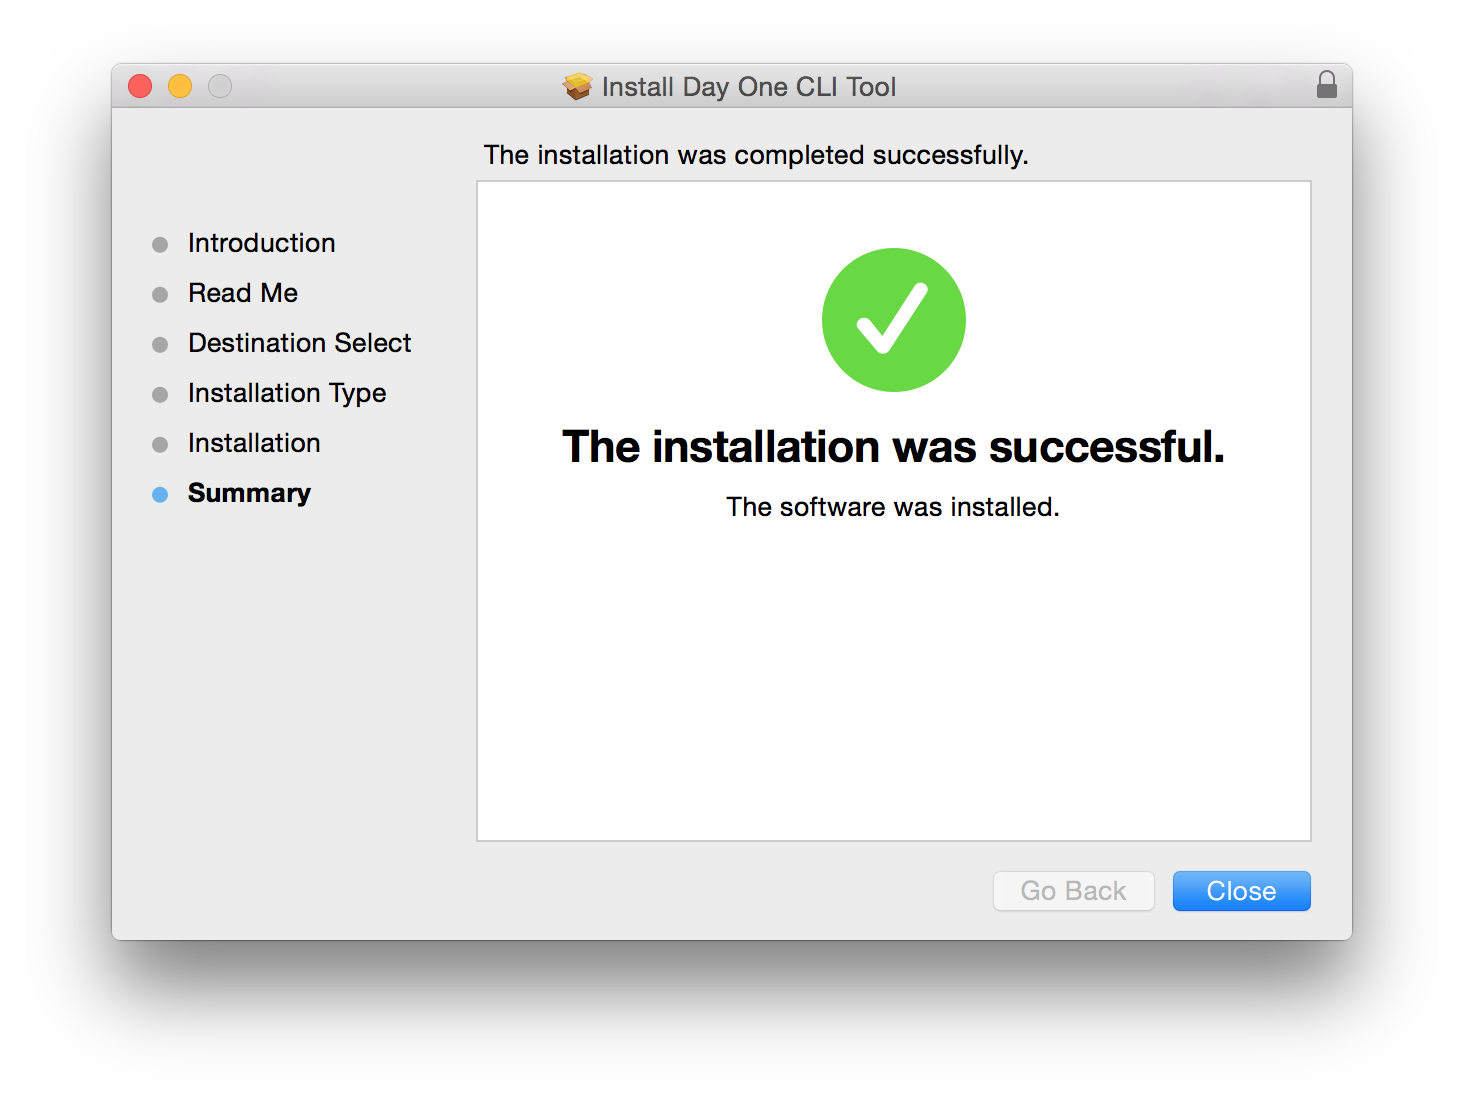
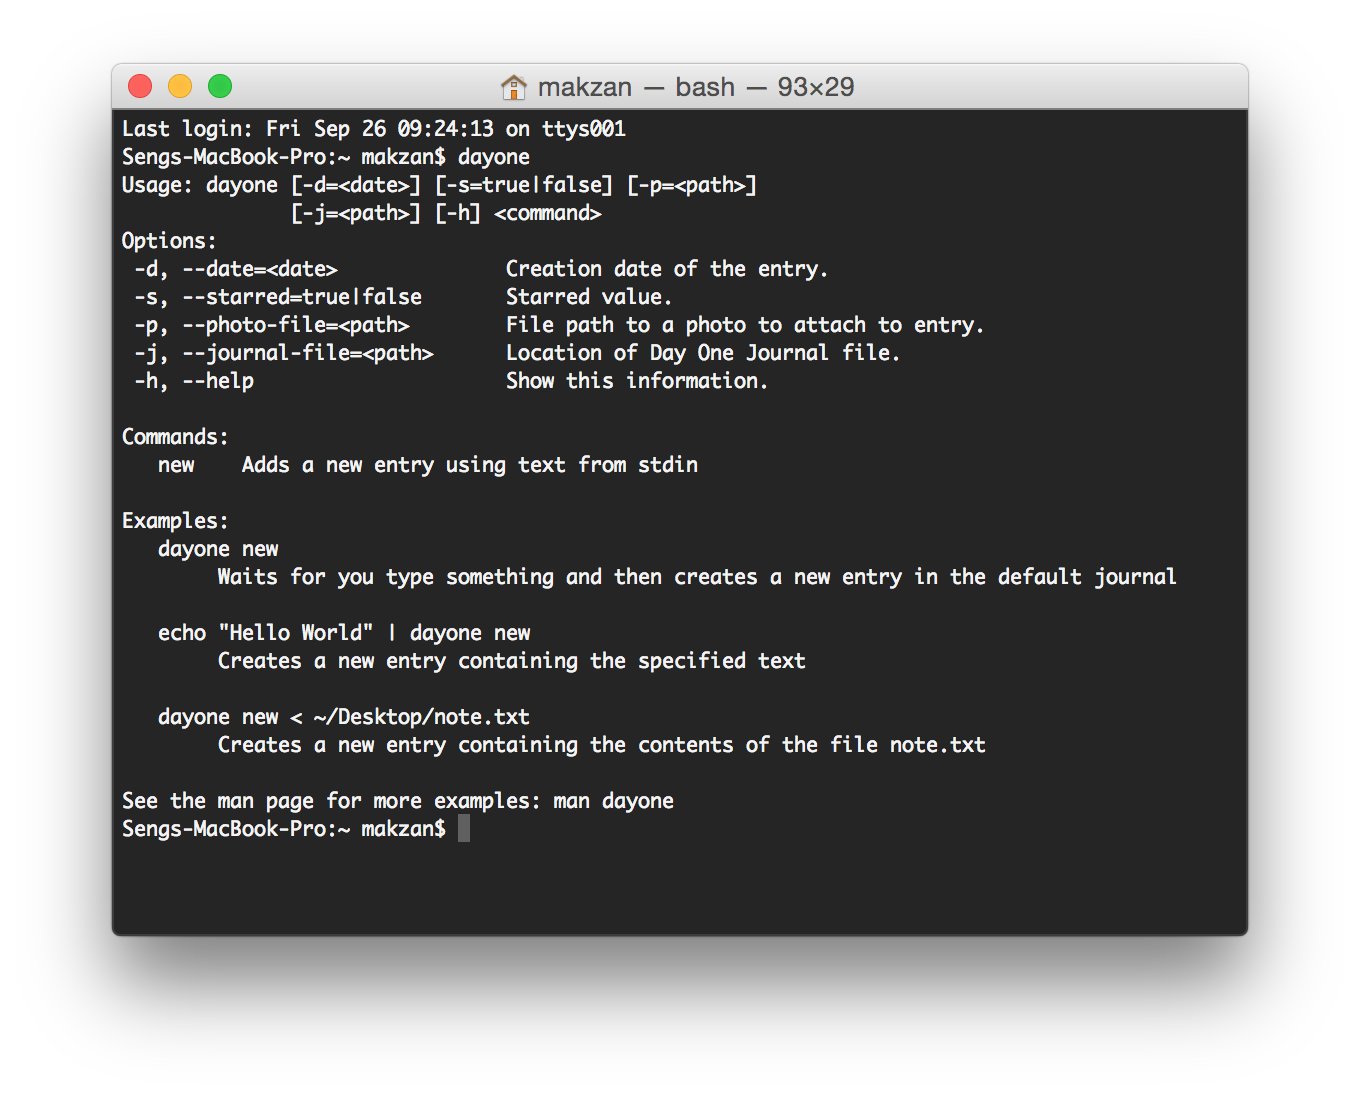
Note: If you want to ensure the CLI is properly installed, you can type the following command in Terminal app and it should output a help screen.
1 | dayone |
4) Make the downloaded migration script executable via the following command. (You can ensure the path is correct by dragging the file directly into the Terminal)
1 | chmod +x /Users/makzan/Downloads/OhLife2DayOne-master/ohlife2dayone.pl |
Take a look at the following video on how to avoid typing the long path of the script file.
Note: This is a protection in Mac OS X that prevents any good or evil script executes before having your permission.
5) Finally, the real migration step.
This is the pattern of the command.
1 | cat <Path to OhLife Export File> | <Downloaded Script> |
This is the command with file paths that works in my computer.
1 | cat /Users/makzan/Downloads/export_2014-09-22.txt | /Users/makzan/Downloads/OhLife2DayOne-master/ohlife2dayone.pl |
The path to the files depends on where you store them in your computer. You can ensure a correct path by dragging the target file directly into the Terminal.
Take a look at the following video on how I write the command by combining typing and drag-n-drop.
Done
After the long progress, which depends on your amount of OhLife entries, the script stops. At this moment your OhLife entries should be in DayOne.
Updated (2014-09-28):
I wrote a script to import the exported photos as entries in DayOne.
https://github.com/makzan/OhLifePhotos2DayOne
The steps to use the photo importing script.
- Copy the
OhLifePhotos2DayOne.rbscript file to the OhLife exported folder. - Open terminal, execute:
cd <Path of the OhLife exported folder>. (Note, you can drag the folder to terminal instead of typing the path yourself) - Execute the command
ls -m img_*and you should see a list of photo files. This is to ensure we have the photos ready. - Execute the command
ls -m img_* | ruby OhLifePhotos2DayOne.rband the importing starts until the commnd stops.
The following video shows how I imported the exported photos by using the script.
Published on 2014-09-05.
More articles like this:
-
Personal
Previous <- Do you really need so many apps?
Next -> Responsive Philosophy